
FLAMINGO DEBOSSER
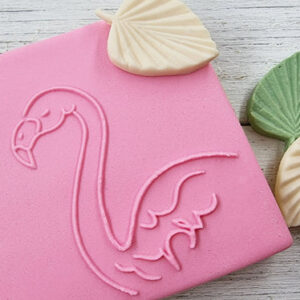
Design size 2.6" (6.5cm) Embosser size 3.3" (8.5cm)All our embossers are made using high quality food-grade frosted acrylic. Simply press the embosser into your fondant icing to produce an amazing raised effect. 1. Dust the top of your fondant and the embosser stamp with icing sugar or corn flour to prevent it from sticking. 2. Locate where you want the design to go and place the stamp on top with the engraved side face down (you can also do this the opposite way by placing the fondant icing on top of the stamp, we find this gives a slightly deeper impression). 3. Use a rolling pin to roll over the top of the embosser applying gentle and even pressure so that the fondant can work its way into the raised part of the design. 4. Using the tab at the top, gently pull the stamp away to reveal the design.
$8.99
BABY ON MOON
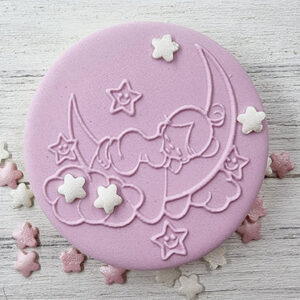
Design size 2.6" (6.5cm) Embosser size 3.3" (8.5cm)All our embossers are made using high quality food-grade frosted acrylic. Simply press the embosser into your fondant icing to produce an amazing raised effect. 1. Dust the top of your fondant and the embosser stamp with icing sugar or corn flour to prevent it from sticking. 2. Locate where you want the design to go and place the stamp on top with the engraved side face down (you can also do this the opposite way by placing the fondant icing on top of the stamp, we find this gives a slightly deeper impression). 3. Use a rolling pin to roll over the top of the embosser applying gentle and even pressure so that the fondant can work its way into the raised part of the design. 4. Using the tab at the top, gently pull the stamp away to reveal the design.
$8.99
STROLLER DEBOSSER
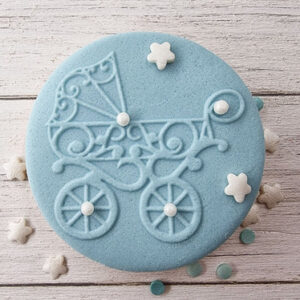
Design size 2.6" (6.5cm) Embosser size 3.3" (8.5cm)All our embossers are made using high quality food-grade frosted acrylic. Simply press the embosser into your fondant icing to produce an amazing raised effect. 1. Dust the top of your fondant and the embosser stamp with icing sugar or corn flour to prevent it from sticking. 2. Locate where you want the design to go and place the stamp on top with the engraved side face down (you can also do this the opposite way by placing the fondant icing on top of the stamp, we find this gives a slightly deeper impression). 3. Use a rolling pin to roll over the top of the embosser applying gentle and even pressure so that the fondant can work its way into the raised part of the design. 4. Using the tab at the top, gently pull the stamp away to reveal the design.
$8.99
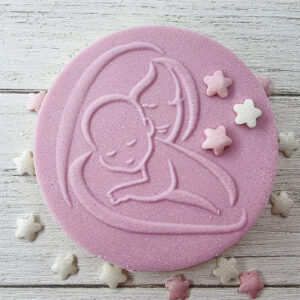
BABY MOTHER DEBOSSER
Design size 2.6" (6.5cm) Embosser size 3.3" (8.5cm)All our embossers are made using high quality food-grade frosted acrylic. Simply press the embosser into your fondant icing to produce an amazing raised effect. 1. Dust the top of your fondant and the embosser stamp with icing sugar or corn flour to prevent it from sticking. 2. Locate where you want the design to go and place the stamp on top with the engraved side face down (you can also do this the opposite way by placing the fondant icing on top of the stamp, we find this gives a slightly deeper impression). 3. Use a rolling pin to roll over the top of the embosser applying gentle and even pressure so that the fondant can work its way into the raised part of the design. 4. Using the tab at the top, gently pull the stamp away to reveal the design.
$8.99
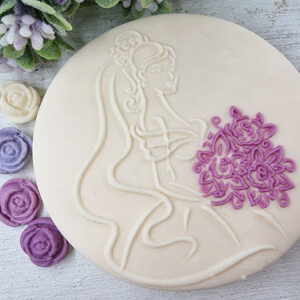
BRIDE FLOWERS DEBOSSERS
Design size 2.6" (6.5cm) Embosser size 3.3" (8.5cm)All our embossers are made using high quality food-grade frosted acrylic. Simply press the embosser into your fondant icing to produce an amazing raised effect. 1. Dust the top of your fondant and the embosser stamp with icing sugar or corn flour to prevent it from sticking. 2. Locate where you want the design to go and place the stamp on top with the engraved side face down (you can also do this the opposite way by placing the fondant icing on top of the stamp, we find this gives a slightly deeper impression). 3. Use a rolling pin to roll over the top of the embosser applying gentle and even pressure so that the fondant can work its way into the raised part of the design. 4. Using the tab at the top, gently pull the stamp away to reveal the design.
$8.99

HAPPY HOLIDAYS DEBOSSER
Design size 2.6" (6.5cm) Embosser size 3.3" (8.5cm)All our embossers are made using high quality food-grade frosted acrylic. Simply press the embosser into your fondant icing to produce an amazing raised effect. 1. Dust the top of your fondant and the embosser stamp with icing sugar or corn flour to prevent it from sticking. 2. Locate where you want the design to go and place the stamp on top with the engraved side face down (you can also do this the opposite way by placing the fondant icing on top of the stamp, we find this gives a slightly deeper impression). 3. Use a rolling pin to roll over the top of the embosser applying gentle and even pressure so that the fondant can work its way into the raised part of the design. 4. Using the tab at the top, gently pull the stamp away to reveal the design.
$8.99
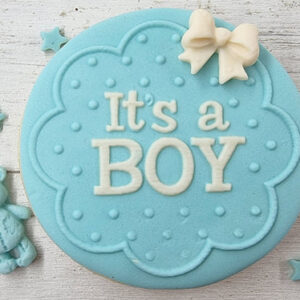
ITS A BOY
Design size 2.6" (6.5cm) Embosser size 3.3" (8.5cm)All our embossers are made using high quality food-grade frosted acrylic. Simply press the embosser into your fondant icing to produce an amazing raised effect. 1. Dust the top of your fondant and the embosser stamp with icing sugar or corn flour to prevent it from sticking. 2. Locate where you want the design to go and place the stamp on top with the engraved side face down (you can also do this the opposite way by placing the fondant icing on top of the stamp, we find this gives a slightly deeper impression). 3. Use a rolling pin to roll over the top of the embosser applying gentle and even pressure so that the fondant can work its way into the raised part of the design. 4. Using the tab at the top, gently pull the stamp away to reveal the design.
$8.99
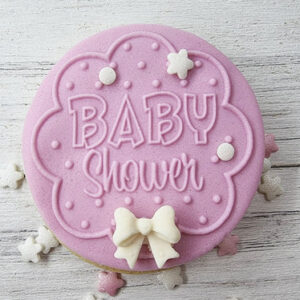
BABY SHOWER DEBOSSER
Design size 2.6" (6.5cm) Embosser size 3.3" (8.5cm)All our embossers are made using high quality food-grade frosted acrylic. Simply press the embosser into your fondant icing to produce an amazing raised effect. 1. Dust the top of your fondant and the embosser stamp with icing sugar or corn flour to prevent it from sticking. 2. Locate where you want the design to go and place the stamp on top with the engraved side face down (you can also do this the opposite way by placing the fondant icing on top of the stamp, we find this gives a slightly deeper impression). 3. Use a rolling pin to roll over the top of the embosser applying gentle and even pressure so that the fondant can work its way into the raised part of the design. 4. Using the tab at the top, gently pull the stamp away to reveal the design.
$8.99
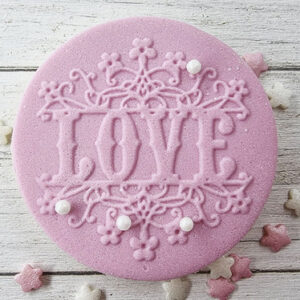
LOVE DEBOSSER
Design size 2.6" (6.5cm) Embosser size 3.3" (8.5cm)All our embossers are made using high quality food-grade frosted acrylic. Simply press the embosser into your fondant icing to produce an amazing raised effect. 1. Dust the top of your fondant and the embosser stamp with icing sugar or corn flour to prevent it from sticking. 2. Locate where you want the design to go and place the stamp on top with the engraved side face down (you can also do this the opposite way by placing the fondant icing on top of the stamp, we find this gives a slightly deeper impression). 3. Use a rolling pin to roll over the top of the embosser applying gentle and even pressure so that the fondant can work its way into the raised part of the design. 4. Using the tab at the top, gently pull the stamp away to reveal the design.
$8.99
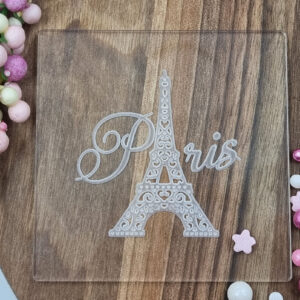
EIFFEL DEBOSSER
Design size 2.6" (6.5cm) Embosser size 3.3" (8.5cm)All our embossers are made using high quality food-grade frosted acrylic. Simply press the embosser into your fondant icing to produce an amazing raised effect. 1. Dust the top of your fondant and the embosser stamp with icing sugar or corn flour to prevent it from sticking. 2. Locate where you want the design to go and place the stamp on top with the engraved side face down (you can also do this the opposite way by placing the fondant icing on top of the stamp, we find this gives a slightly deeper impression). 3. Use a rolling pin to roll over the top of the embosser applying gentle and even pressure so that the fondant can work its way into the raised part of the design. 4. Using the tab at the top, gently pull the stamp away to reveal the design.
$8.99
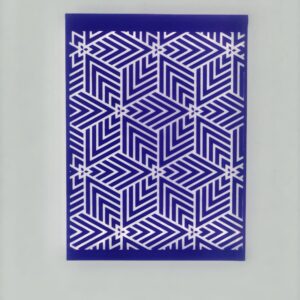
Mesh Stencil
How to use mesh stencil 1-Position your mesh stencil over your material surface 2-Place your mix on mesh stencil all over the surface using a spatula or scraper 3-Spread the mix across the stencil using your scraper or spatula. 4Lift your mesh stencil to reveal the artwork
$12.99
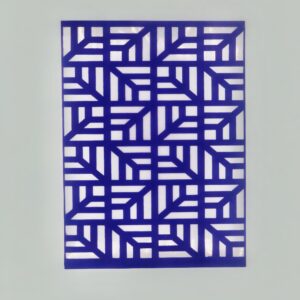
Mesh Stencil
How to use mesh stencil 1-Position your mesh stencil over your material surface 2-Place your mix on mesh stencil all over the surface using a spatula or scraper 3-Spread the mix across the stencil using your scraper or spatula. 4Lift your mesh stencil to reveal the artwork
$12.99
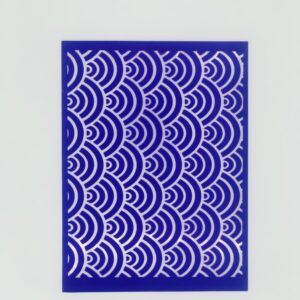
Mesh Stencil
How to use mesh stencil 1-Position your mesh stencil over your material surface 2-Place your mix on mesh stencil all over the surface using a spatula or scraper 3-Spread the mix across the stencil using your scraper or spatula. 4Lift your mesh stencil to reveal the artwork
$12.99
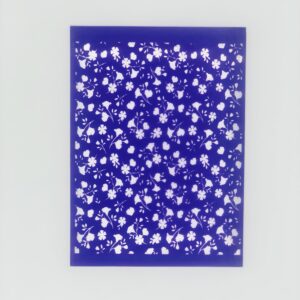
Mesh Stencil
How to use mesh stencil 1-Position your mesh stencil over your material surface 2-Place your mix on mesh stencil all over the surface using a spatula or scraper 3-Spread the mix across the stencil using your scraper or spatula. 4Lift your mesh stencil to reveal the artwork
$12.99
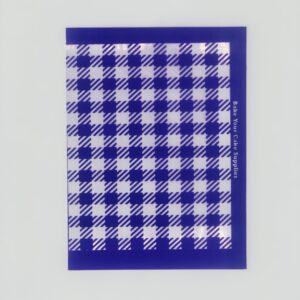
Mesh Stencil
How to use mesh stencil 1-Position your mesh stencil over your material surface 2-Place your mix on mesh stencil all over the surface using a spatula or scraper 3-Spread the mix across the stencil using your scraper or spatula. 4Lift your mesh stencil to reveal the artwork
$12.99
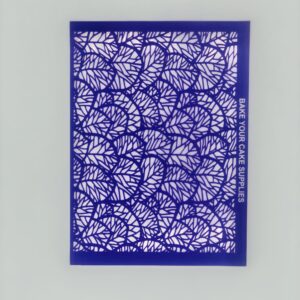
Mesh Stencil
How to use mesh stencil 1-Position your mesh stencil over your material surface 2-Place your mix on mesh stencil all over the surface using a spatula or scraper 3-Spread the mix across the stencil using your scraper or spatula. 4Lift your mesh stencil to reveal the artwork
$12.99
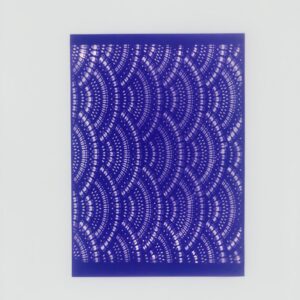
Mesh Stencil
How to use mesh stencil 1-Position your mesh stencil over your material surface 2-Place your mix on mesh stencil all over the surface using a spatula or scraper 3-Spread the mix across the stencil using your scraper or spatula. 4Lift your mesh stencil to reveal the artwork
$12.99
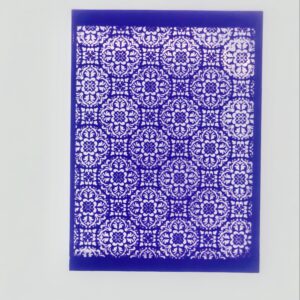
Mesh Stencil
How to use mesh stencil 1-Position your mesh stencil over your material surface 2-Place your mix on mesh stencil all over the surface using a spatula or scraper 3-Spread the mix across the stencil using your scraper or spatula. 4Lift your mesh stencil to reveal the artwork
$12.99
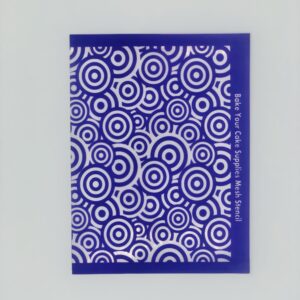
Mesh Stencil
How to use mesh stencil 1-Position your mesh stencil over your material surface 2-Place your mix on mesh stencil all over the surface using a spatula or scraper 3-Spread the mix across the stencil using your scraper or spatula. 4Lift your mesh stencil to reveal the artwork
$12.99
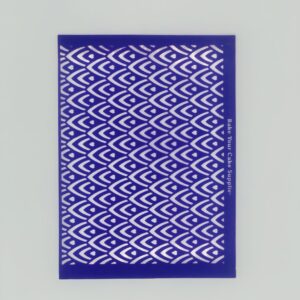
Mesh Stencil
How to use mesh stencil 1-Position your mesh stencil over your material surface 2-Place your mix on mesh stencil all over the surface using a spatula or scraper 3-Spread the mix across the stencil using your scraper or spatula. 4Lift your mesh stencil to reveal the artwork
$12.99